# [NestJS] 사용자 인증 모듈 생성 및 회원 가입하기 [2단계]
[NestJS] 사용자 인증 모듈 생성 및 회원 가입하기 [2단계]
🌞 2025.1.23
- 인증 : 사용자의 자격을 확인
- 사용자의 자격증명을 기존 정보를 기반으로 확인 후 인증 토큰을 발급함.
- 사용자에게 부여된 인증 토큰은 특정 기간 동안만 유효
- 쿠키기반, 토큰기반(쿠키리스) 인증법이 있음.
- 서버에서 보내준 쿠키를 클라이언트(주로브라우저) 에 저장해 관리함.
- 토큰은 서버에 상태를 저장할 필요가 없음.
- 쿠키와 토큰은 서로 장단점이 있음.
- 토큰은 OAuth 를 사용한 소셜 로긴에서 사용할 예정, 먼저 쿠키 인증을 구현
10.4.1 인증 모듈 만들기 및 설정
(1) 인증 모듈 생성
📌 auth module > service > controller 순 생성
nest g module auth --no-spec
nest g service auth --no-spec
nest g controller auth --no-spec
인증 시스템 논리 구조

(2) UserService 를 AuthService 에서 주입 하도록 user.module.ts 에 exports 설정을 추가함.
📌 user/user.module.ts
// user/user.module.ts
import { Module } from "@nestjs/common";
import { UserController } from "./user.controller";
import { UserService } from "./user.service";
import { TypeOrmModule } from "@nestjs/typeorm";
import { User } from "./user.entity";
@Module({
    imports : [TypeOrmModule.forFeature([User])],
    controllers : [UserController],
    providers : [UserService],
    //UserService 를 외부로 노출해야함.
    exports: [UserService]
})
export class UserModule {}
10.4.2. 회원 가입 메서드 생성
(1) UserService 클래스의 creatUser 사용 , 비밀번호 같은 정보 암호화
bcrypt 설치
npm install bcrypt
npm install -D @types/bcrypt
(2) 서비스 -> 컨트롤러 코드 작성
src/auth/auth.service.ts
//src/auth/auth.service.ts
// ** HTTP , DTO, service import
import { HttpException, HttpStatus, Injectable } from '@nestjs/common';
import { CreateUserDto } from 'src/user/user.dto';
import { UserService } from 'src/user/user.service';
// ** 회원 정보 암호화 라이브러리
import * as bcrypt from 'bcrypt'
//
// import { User } from 'src/user/user.schema';
import { User } from 'src/user/user.entity';

@Injectable() // provider
export class AuthService {
    constructor(private userService: UserService) {}

    async register(userDto : CreateUserDto) {
        // 1. 이미 가입된 유저 있는지 체크
        const user = await this.userService.getUser(userDto.email)
        if (user) {
            // 이미 가입된 유저 있을 경우 에러 발생
            throw new HttpException(
                '해당 유저가 이미 있습니다. ',
                HttpStatus.BAD_REQUEST
            )
        }
        // password 암호화
        const encryptedPassword = await bcrypt.hash(userDto.password, 10)
        // db 저장, 저장중 error 나면 서버 에러 발생
        try {
            const user = await this.userService.createUser({
                ...userDto,
                password: encryptedPassword
            })
            // 회원 가입 후 반환하는 값에는 password 를 주지 않음.
            user.password =undefined
            return user
        } catch (error) {
            throw new HttpException('서버 에러 ', 500)
        }
    }
}
(3) 컨트롤러 생성(rough)
//auth.controller.ts
import { Controller, Body, Get, Post } from '@nestjs/common';
import { CreateUserDto } from 'src/user/user.dto';
import { AuthService } from './auth.service';
import chalk from 'chalk';

@Controller('auth')
export class AuthController {
    constructor(private authService : AuthService) {}

    // 등록 요청을 받으면 CreateUserDto 객체
    @Post('register')
    async register(@Body() userDto: CreateUserDto) {
        console.log(chalk.yellow(" >> register start"))
        return await this.authService.register(userDto)
    }
}- 🤔 @Body() userDto: CreateUserDto 해석
- @Body 데코레이터는 요청 본문에서 데이터를 추출 함.
- 데코레이터로 추출한 것을 CreateUserDto 타입의 객체로 변환되어 userDto 변수에 할당함.
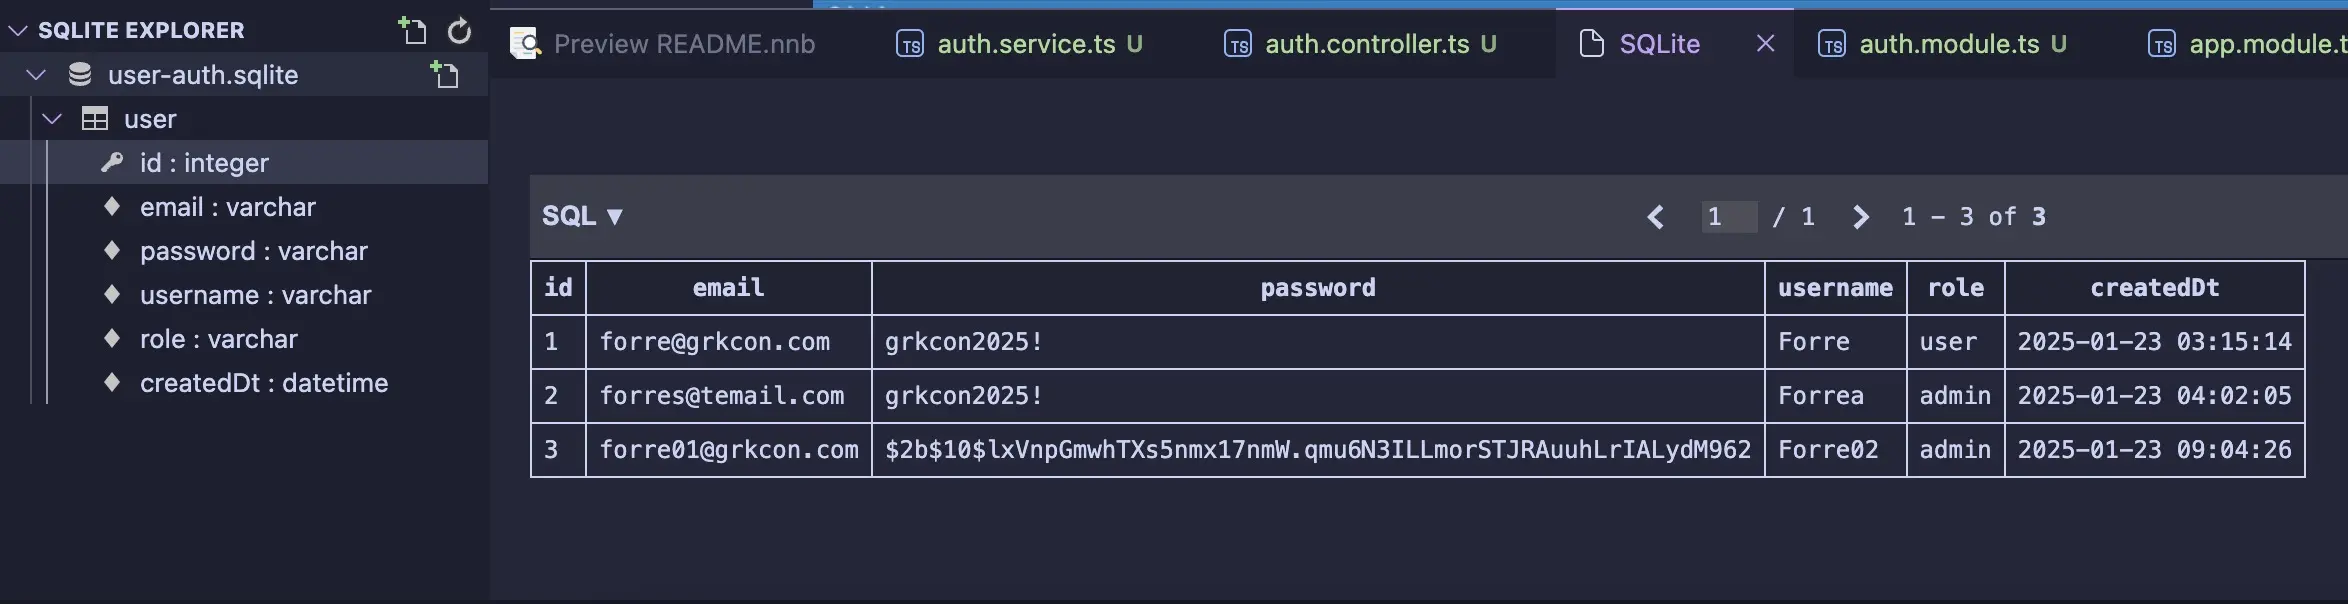
10.4.3 SQLite 익스텐션으로 테이블 확인
sqlite extension install > user-auth.sqlite check
10.5 쿠키를 사용한 인증 구현
AuthController 에 login 핸들러 메서드 구현
🤔핸들러란? : 핸들러는 특정 요청(Get,Put,Post,Delete)을 처리하는 역할을 하는 함수이다.
Controller > AuthService 로 email, password 파라미터를 Dto 형태로 넘겨 주면 DB 에 해당 정보 유저가 있는지 유효성 검증을 하는 로직 구현.
유저 정보의 유효성 검증이 끝나면 응답 값에 쿠키 정보를 추가해 반환함.
NestJS 에서 인증을 구현할때 보통 인증용 미들웨어인 가드를 함께 사용함.
✅ 가드는 특정 상황(권한,롤,액세스컨트롤) 에서 받은 요청request 를 가드를 추가한 라우트 메서드에서 처리할지 말지를 결정하는 역할을 함.
10.5.1 AuthService 에 이메일과 패스워드 검증 로직 만들기
(1) 유저의 이메일과 패스워드 검증 로직
📌 auth/auth.service.ts
    // 회원 검증
    async validateUser(email: string, password: string) {
        const user = await this.userService.getUser(email)
        // 이메일로 유저 정보를 받음.
        if (!user) { // 유저가 없는 경우 -> 검증 실패
            return null
        }
        const { password: hashedPassword, ...userInfo } =user

        if (bcrypt.compareSync(password, hashedPassword)) {
            // password 일치
            return userInfo
        }
        return null
    }
(2) validateUser() 메서드를 AuthController 에서 사용해 인증 결과를 쿠키에 추가
📌 auth/auth.controller.ts
    @Post('login')
    async login(@Request() req, @Response() res) {
        // validateUser
        const userInfo = await this.authService.validateUser(
            req.body.email,
            req.body.password
        )
        // 유저 정보가 있으면, 쿠키 정보를 response 저장
        if (userInfo) {
            res.cookie('login', JSON.stringify(userInfo), {
                httpOnly: false,
                maxAge: 1000 * 60 * 60 * 24 * 1 //7 day 단위는 밀리초 쿠키 지속 시간
            })
        }
        return res.send({ message: 'login success'})
} - login()은 Request 와 Response를 모두 사용해야 하므로 @Body나 @Param 이 아닌 @Request 를 직접 사용함. Response 객체는 쿠키를 설정할때 사용함.
- 앞서 만든 authService 의 validateUser를 호출해 패스워드를 제외한 유저 정보를 받음. 유저 정보가 있으면 res.cookie 를 사용해 쿠키를 설정함.
- httpOnly 를 true 로 설정하여 브라우저에서 쿠키를 읽지 못하게 함.
- 브라우저에서 쿠키를 읽을수 있으면 XSS(Cross Site Scripting) 등의 공격으로 쿠키 탈취 가 가능함. 명시적으로 false 를 줌. 원래 기본값도 false 임.
- 쿠키 정보를 브라우저에서 읽지 않아도 된다면 true 설정이 보안에 더 유리
(3) login test
### USER login test
 curl -X POST \
     -H "Content-Type: application/json" \
     -d '{
     "email":"forre@grkcon.com",
     "password":"grkcon2025!"
     }' \
     http://localhost:3000/auth/login
curl 에서는 쿠키가 뜨지않고. test.http 파일에서 접근하면 연결자체가 안됨.
curl 명령에서 -v 설정을 추가하면 쿠키가 보임, -c cookie.txt 파일에 쿠키 저장 하고 -b cookie.txt 파일에서 쿠키읽어와서 접근하면 오류가 사라짐
type script 로 쿠키 확인할수있는 코드
📌 auth.test.ts
const data = {
  email: "test1@grkcon.com",
  password: "grkcon2025!"
};

fetch("http://localhost:3000/auth/login", {
    method: "POST",
    headers: {
        "Content-Type": "application/json",
    },
    body: JSON.stringify(data),
})
.then((response) => {
     const setCookieHeaders = [];
     const cookies = [];

     response.headers.forEach((value, key) => {
         if (key.toLowerCase() === "set-cookie") {
            setCookieHeaders.push(value);
             const parsedCookies = value.split(';').reduce((acc, cookie) => {
                const [name, value] = cookie.trim().split('=');
                if (name && value) {
                    acc[name] = value;
                }
                return acc;
            }, {});
            cookies.push(parsedCookies)
         }
     });

     console.log("Set-Cookie 헤더들:", setCookieHeaders);
     console.log("파싱 된 쿠키들:", cookies)
  return response.json();
})
.then((result) => console.log("응답 결과:", result))
.catch((error) => console.error("오류 발생:", error));
10.5.2 가드를 사용해 인증됬는지 검사
- Nest.js 인증시 가드라는 미들웨어를 보편적으로 사용함.
- 가드는 @Injectable() 데코가 붙어있고 CanActive 인터페이스를 구현한 클래스임.
- @UseGuard 로 사용할수도 있음.
- 클라이언트의 요청을 @Get, @Post 등이 붙어있는 핸들러 메서드에 넘기기 전에 인증에 관련된 처리를 할수 있음.
- CanActivate 인터페이스를 구현하려면 canActivate() 메서드를 구현해야함.
- CanActiavet 는 boolean or Promise
을 반환 true 인경우 핸들러 메서드 실행, false 이면 403 forbidden 에러를 반환 NestJS 가드 인증 논리구조

(1) 서버측에서 http 헤더에 있는 쿠키를 읽는 코드 작성.
- cookie-parser 패키지 설치
npm install cookie-parser
메인 에 코드 추가
📌 src/main.ts
// cookie
import * as cookieParser from 'cookie-parser'
///( 생략 ..)
async function bootstrap() {
  // Cookie parser 사용
  app.use(cookieParser())
}- 쿠키 파서는 request 객체에서 읽어오는데 사용하는 미들웨어임
- NestFactory.create로 만든 NestApplication 의 객체인 app에서 use() 함수를 사용해 미들웨어를 사용하도록 한줄만 추가하면 됨.
(3) auth.guard.ts 작성
- authService 의 validateUser 사용하여 가드 생성
- src/auth 아래에 auth.guard.ts 파일 생성
/// src/auth/auth.guard.ts

import { CanActivate, ExecutionContext, Injectable} from '@nestjs/common'

import { AuthService } from './auth.service'
import { Observable } from 'rxjs'

@Injectable()
export class LoginGuard implements CanActivate {

    constructor(private authService: AuthService) {}
    // CanActivate 인터페이스의 메서드
    async canActivate(context: any): Promise<boolean> {
        // 컨텍스트에서 리퀘스트 정보를 가져옴
        const request =  context.switchToHttp().getRequest()
        // 쿠키가 있으면 인증된 것
        if (request.cookies['login']) {
            return true
        }
        // 쿠키가 없으면 request 의 body정보 확인
        if (!request.body.email || !request.body.password) {
            return false
        }

        //기존의 authService.validateUser 를 사용하여 인증
        const user = await this.authService.validateUser(
            request.body.email,
            request.body.password
        )
        // 유저 정보 없을시 false
        if (!user) {
            return false
        }
        // 유저정보가 있으면 request 에 user 정보 추가후 true
        request.user = user
        return true
    }
}- @Injectable 이 있으므로 다른 클래스 주입가능 , CanActive 있으므로 가드 클래스임.
- 인증시 authService 객체 주입, canActivate() 는 추상 메서드이므로 사용할 클래스에서 구현해야함. 반환 타입 은 async 이므로 Promise boolean 타입으로 사용
- true: 인증됨, false: 인증 안됨.
(4) auth.controller 에 useGuard 를 활용한 login2 함수 작성
auth.controller.ts
   // 사용자 인증
    @UseGuards(LoginGuard)
    @Post('login2')
    async login2(@Request() req, @Response() res) {
        // 쿠키정보는 없지만 request에 user 정보가 있다면 응답값에 쿠키 정보 추가
        if (!req.cookies['login'] && req.user) {
            // 응답에 쿠키 정보 추가
            res.cookie('login', JSON.stringify(req.user), {
                httpOnly: true,
                maxAge: 1000 * 10 // test 용
            })
        }
        return res.send({message: 'login2 success'})

    }
    // 로그인을 한 때만 실행되는 메서드
    @UseGuards(LoginGuard)
    @Get('test-guard')
    testGuard() {
        return '로그인 된 떄만 이 글이 보입니다. '
    }
}
(5) 쿠키 로그인 인증 test
✅ 기존에 create 로 생성된 아이디들은 테스트를 할수없음 auth/register 로 생성된 아이디들만 auth guard 에 인식이 되며 쿠키가 생성됨
로그인 > login2(by쿠키) Curl test
### USER login 가드 테스트 ( cookie 기록 )
curl -X POST \
    -H "Content-Type: application/json" \
    -d '{
    "email":"test1@grkcon.com",
    "password":"grkcon2025!"
    }' \
    -c cookies.txt \
    http://localhost:3000/auth/login

### USER login 가드 테스트 ( cookie 읽어서 login2 쿠키 확인 )
curl -X POST \
    -H "Content-Type: application/json" \
    -d '{
    "email":"test1@grkcon.com",
    "password":"grkcon2025!"
    }' \
    -b cookies.txt \
    http://localhost:3000/auth/login2

### USER login  쿠키 인증 test
curl -X GET -b cookies.txt http://localhost:3000/auth/test-guard
TEST RESULT
